
Crispy Chicken Teriyaki Wings

My mom makes these every New Year's Day when we go to my Auntie Alice's house to celebrate. Although these wings are not a Japanese traditional dish, we do partake in many other traditional dishes that have meaning and are thought to bring good health, long life, prosperity and happiness in the new year. These wings definitely bring me happiness because they are savory, sweet, salty, crispy and just delicious! I make these for Superbowl Sunday as well because you can prepare them ahead of time and they stay crisp, even at room-temperature.
I try not to serve fried food to my kids but my mom’s recipe for these are best extra crispy. Unfortunately, this can only be achieved by frying. Just try not to eat them before your guests arrive!
Crispy Teriyaki Wings

Ingredients
- 2 1/2 lbs. chicken wings – washed and dried with a paper towel
- 1 cup flour
- 1 cup water
- 3 ice cubes
- 2 cups vegetable oil or enough to fill a medium-sized, deep saucepan about 1 ½ inches or a deep fryer to its specifications.
- 1 cup sugar
- 1 cup shoyu (soy sauce)
- 2 tsp ginger - grated
- 1 tsp garlic - chopped
- 1/4 cup mirin (Japanese sweet cooking rice seasoning)
Instructions
- In a small saucepan on high heat, whisk sugar, shoyu, ginger and garlic until combined.
- Bring to a boil and then immediately turn down to simmer. Add mirin.
- Have a wire rack on an aluminum foil-lined cookie sheet ready for the cooked chicken.
- In a deep saucepan or deep fryer on medium-high, add oil until heated.
- Have the saucepan of teriyaki sauce nearby on the stove on simmer.
- In a medium bowl, combine flour and water to make the batter.
- Add ice cubes to the batter to keep it cold, mixing as ice cubes melt.
- Test the oil by adding a very small amount of batter to the hot oil to see if it fries up quickly.
- Add chicken wings to the batter in batches so that none are touching.
- Fry in batches until both sides are brown and crispy, turning with metal tongs halfway through. Approximately 8-10 minutes.
- Shake off any excess oil and dip chicken wings in the hot teriyaki sauce directly after they are done frying.
- Remove and drain on a wire rack without touching so wings remain crispy. Serve warm or at room temperature.
Notes
Mirin (味 醂 or みりん) – Preferred Brand – Kikkoman sweet cooking rice seasoning. Used to make teriyaki sauce and for marinades and dressing in replacement of sugar. Although this does contain low amounts of alcohol, it is safe for use in children’s dishes as there is normally a very small amount added.
Grating Ginger - Peel the end of a fresh piece of ginger and use a Japanese ginger grater or a microplane to grate the ginger. Ginger can also be frozen to make grating easier.
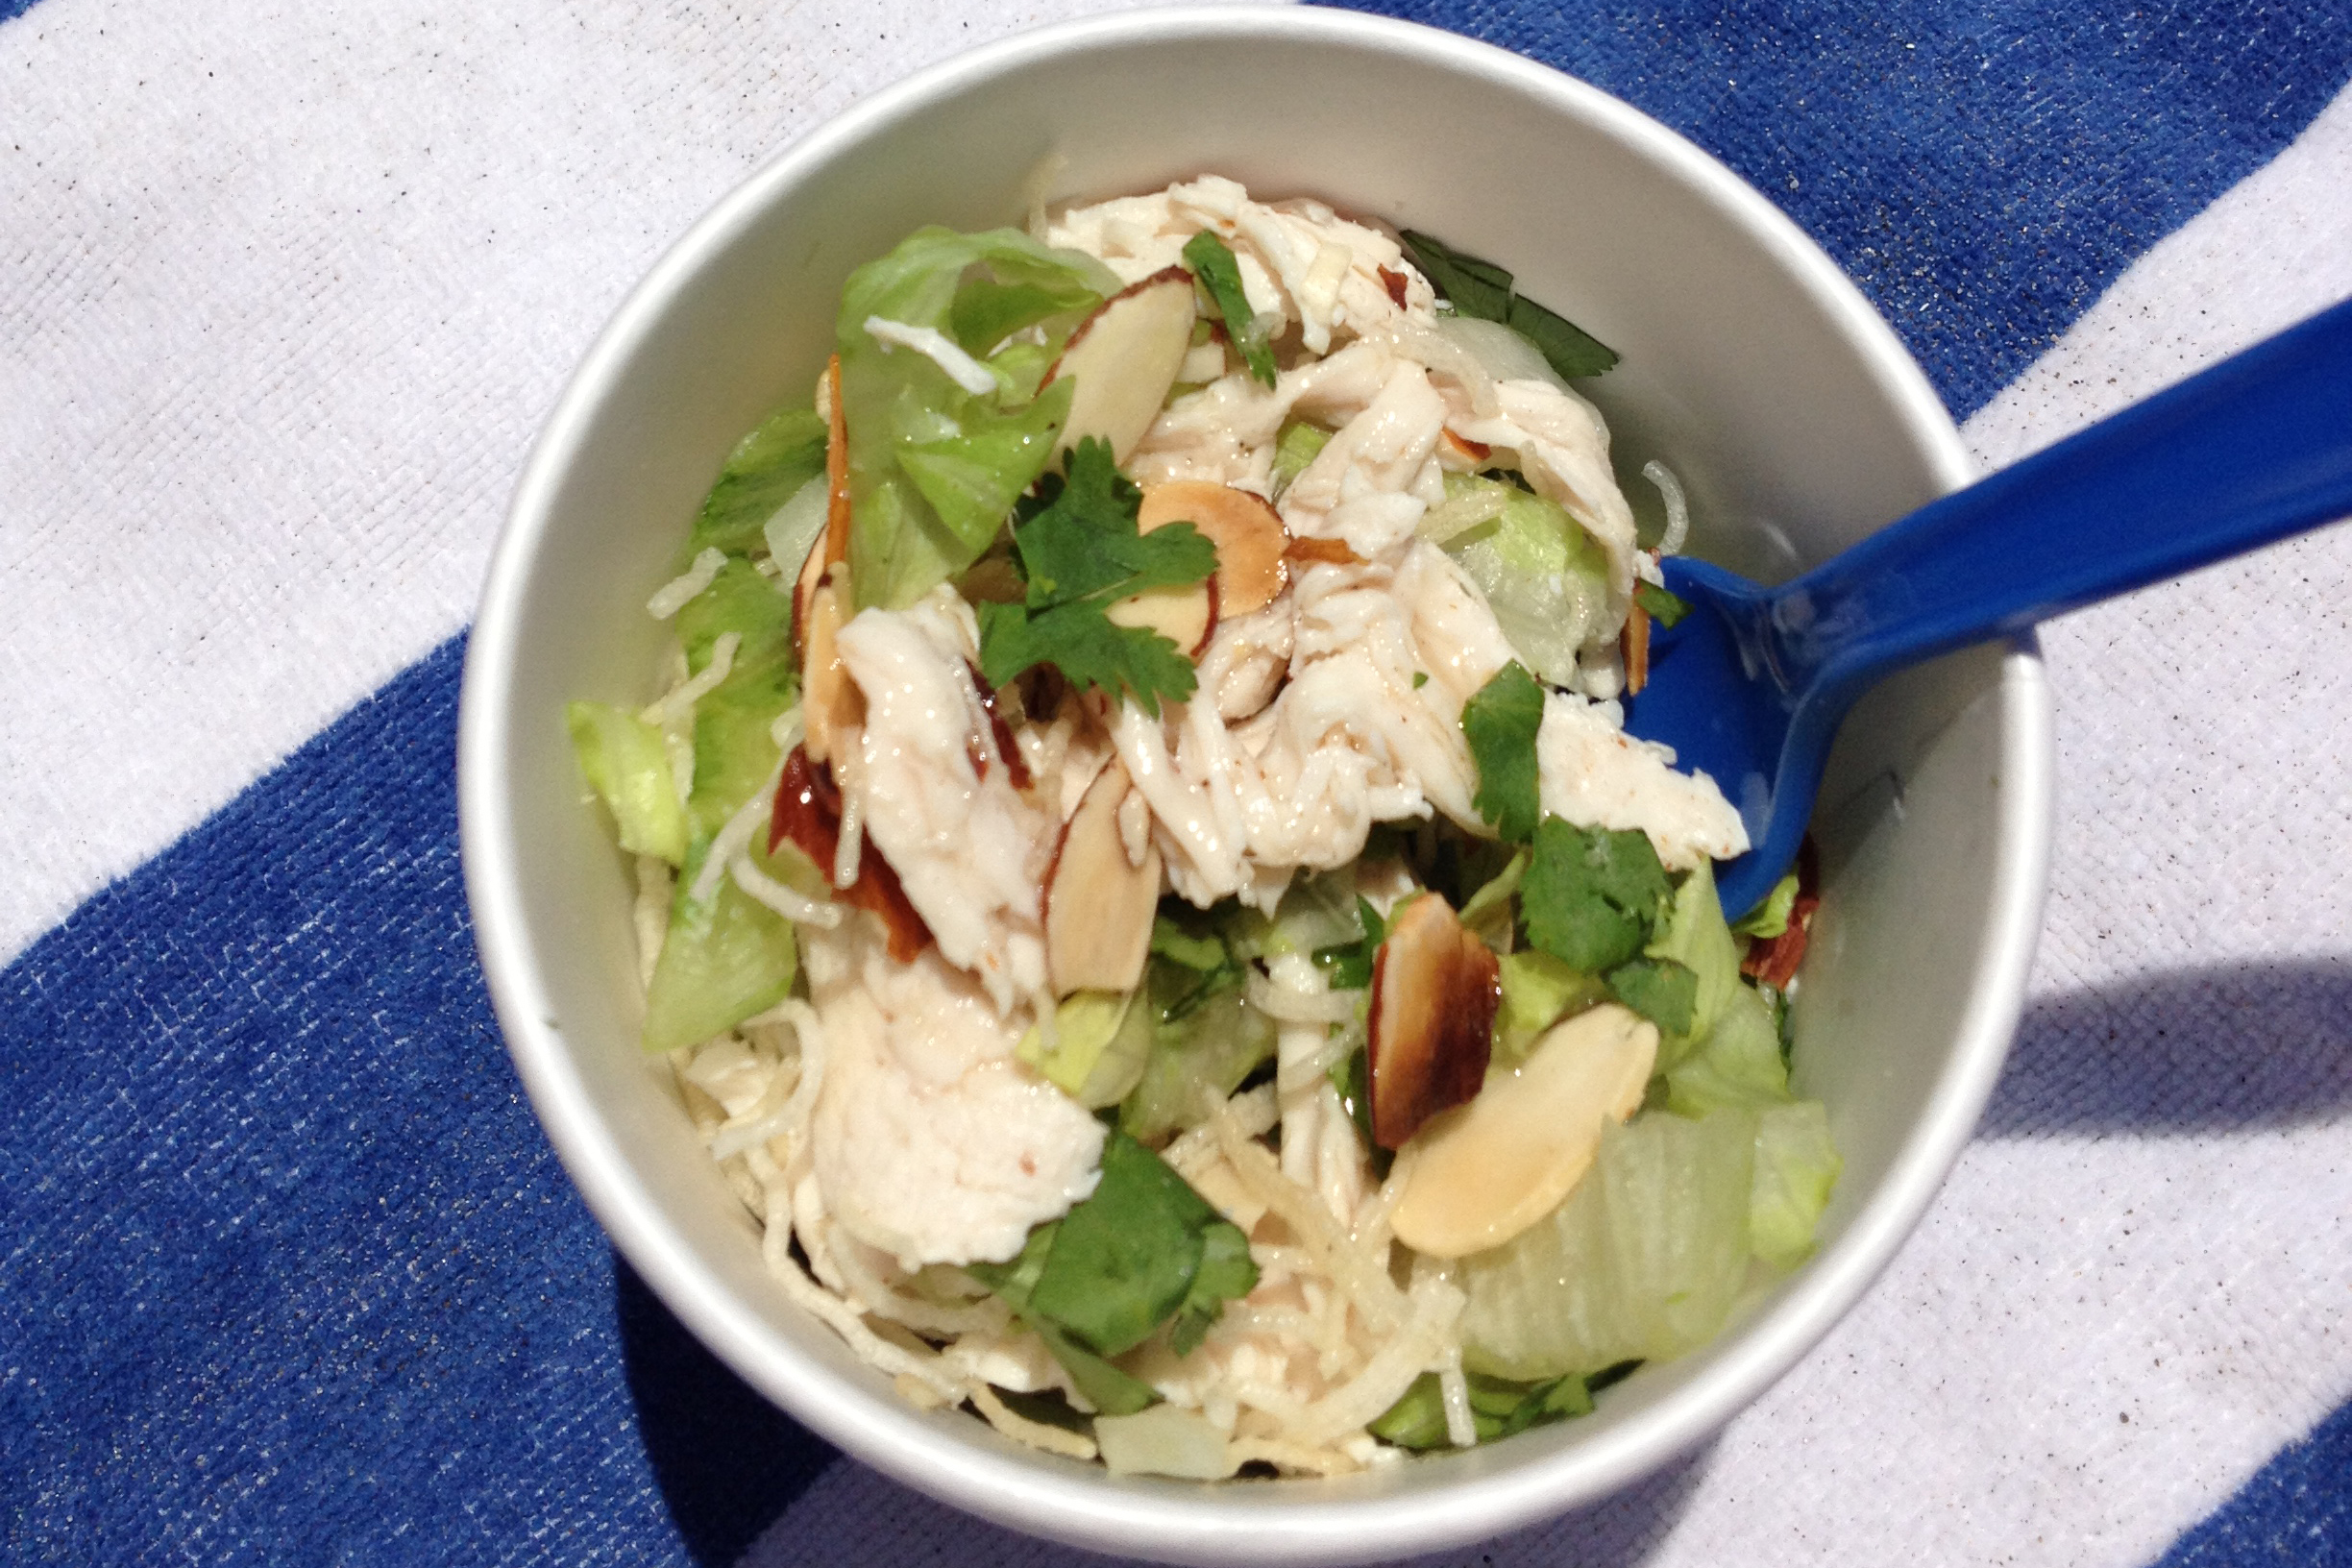
Chinese Chicken Salad
I've had a lot of Chinese Chicken salad in my life and I have to say, in my opinion this is THE BEST Chinese Chicken Salad recipe I've ever had because of two things. 1. The dressing has the perfect balance of sweet and salt, isn't too oily and 2. The chicken has a tiny hint of ginger because you add a piece to the water you cook it in which gives it a nice subtle flavor and adds depth. If you like a strong sesame flavor with a perfect balance of sweet, sour and salty - you will love this! I make all the different parts of this ahead of time, refrigerate them all in little baggies and then bring them all together right before serving so that the fried maifun stays crunchy and everything else is cold and crisp. This is also great to take to the beach or serve up at a party in Chinese to-go boxes. If you are taking it to the beach, just take all of your separate baggies and mix everything together in your one big zip lock that has the lettuce (including the dressing) and voila - you have a perfect well balanced lunch.
Chinese Chicken Salad

Ingredients
- 3 boneless chicken breasts - you can also use chicken tenders, just remember to tear the little cartilage bit out after the chicken is cooked
- 1/2 to 1 pkg. maifun (noodles that puff up when you fry them) available at most grocery stores in the Asian section
- 1-2 heads lettuce - I like to mix romaine and iceberg - sliced thinly
- 3-4 green onions, sliced thin diagonally
- 1 small pkg, almonds, toasted - I just put them on low setting on a tray in the toaster oven
- 1/4 cup sesame seeds, toasted - you can buy them already toasted at Asian grocers
- 1/4 cup cilantro or Chinese parsley
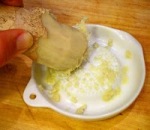
- 1 medium slice of fresh ginger (skin can be on)
- Oil for deep frying
- 4 tbsp sugar
- 4 tbsp rice wine vinegar (I prefer the Marukan brand)
- 2 tsp salt
- 1/2 tsp black pepper
- 1/2 cup vegetable oil
- 4 tbsp sesame oil (I prefer the Kadoya brand)
Instructions
- Combine all ingredients except oils and dissolve over low heat.
- Add oil after cooling and whisk ingredients or put it in a blender to emulsify.
- Pour into a sealable container.
- In a medium saucepan, cover chicken breasts in enough water to cover breasts and add a piece of fresh ginger.
- Bring to a boil until chicken is just done, about 10 minutes - do not overcook.
- Drain, cool and shred into small pieces.
- Deep fry the maifun in hot oil at 350 degrees, taking a small handful at a time.
- The maifun will puff up quickly so remove right away with a Chinese strainer if you have one.
- Drain the puffed maifun on paper towels and set aside. I like to put my puffed maifun in a ziplock bag and save it for when I'll be serving the salad.
- Combine chicken, lettuce, onions, almonds and sesame seeds and cilantro in a salad bowl.
- Just before serving, add maifun and dressing and toss gently to mix.
Notes
You can get creative and serve the salad in Chinese to-go boxes that you can order online ahead of time.
Make Your Own Sushi Station

I've got three kids so "just roll with it" is a motto that I have to live by. In keeping with this motto, I thought I'd post a super easy way to make and eat Japanese hand- rolls! The great part about this recipe is that you can roll up pretty much anything. My kids like plain rice but if I want them to eat their veggies or try different types of fish, they'll happily roll it right up. Anything tastes better in a crispy piece of seaweed (nori)!
What makes this recipe different is how you prepare the nori. Seasoned, crispy nori has become very popular these days. You can find it in little snack packs all over the place but I've been making it at home since I was little. You can easily roast it on a gas stove and it comes out crispier, fresher tasting, less oily and better for you! I'll show you how to make it below.
Prepare Ahead:
Sushi Rice - Basic Japanese Steamed Rice (1 hour, 25 minutes) follow instructions in the Notes section to make this Sushi Rice
Pro Tip:
1/2 lb ahi tuna (does not need to be sushi grade) - freeze ahead of time to make easier to cut and make more uniform pieces.
Make Your Own Sushi Station

Ingredients
- 10 squares nori (seaweed) roasted (See instructions below)
- 2-3 ripe avocados – Cut into quarters and then sliced at a diagonal in the peel so that people can take a section and scoop out what they need
- ½ Japanese cucumber (can substitute any cucumber), seeded, julienned
- ½ lb lump crab meat - to make it easy, they have fresh crab already cooked, shelled and in a nice plastic container in most seafood sections of your local grocer
- ½ pound baby shrimp, cooked
- ½ pound spicy ahi tuna (See instructions below)
- vegetarian lovers - add peeled carrots, steamed asparagus spears, torn lettuce
- ½ cup white sesame seeds, toasted (these are available at most Asian grocers already toasted)
- shoyu (Japanese soy sauce), wasabi and ginger
- 10 sheets nori (Japanese seaweed)
- 1/8 cup sesame oil
- 1/2 lb ahi tuna (does not need to be sushi grade) - freeze ahead of time to make easier to cut and make more uniform pieces.
- 2 tbsp sesame oil
- 2 shakes of chili oil
- 2 tbsp sriracha sauce
- 1 tsp kosher sea salt
Instructions
- For Toasted Nori - Pour sesame oil into a small bowl.
- Very lightly brush sheets of nori on both sides with oil (alternatively you can use coconut oil cooking spray)
- Turn gas stove on medium high and gently waft the nori sheet over the hot stove with tongs to make crispy on both sides. (It's o.k. if some of the sides catch a little flame, just blow it out and be careful!)
- Lay each piece of toasted seaweed on a paper towel and sprinkle with salt. Repeat and stack. When done, take kitchen shears and cut the sheets into fourths.
- For Spicy Tuna - Take frozen tuna and let rest for 15 minutes.
- Cut the tuna into 1/8" cubes. If you see any sinuous white bits, remove.
- In a large bowl, combine the tuna, sesame oil, chili oil and sriracha sauce.
- Right before serving, add the kosher salt and combine so that guests can still get a little crunch from the salt.
- It's Sushi Party time - Right before your guests arrive, lay out the sushi rice, toppings, and toasted seaweed in separate bowls. Don't worry about the rice being warm - it's better at room temperature because it won't make the seaweed rolls soggy.
- Have the condiments (sesame seeds, soy sauce, wasabi and ginger) in smaller bowls with serving utensils.
- I make a separate bowl of soy sauce and wasabi already mixed so that people can just spoon it on if they like.
- Have guests take a square of nori and spread a small amount of rice in the center and top with desired toppings. They can continue to gather round and make their own sushi hand-rolls - like a Japanese sushi taco party!
My Mom’s Salty Baby Back Ribs

My mom’s baby back ribs are super easy and tender. You just need to pop them in the oven at least 5 hours before the party so that they can sit and tenderize and are warm and ready to go when guests arrive. Also, don’t forget to set your oven rack to the middle, otherwise the ribs will burn when you broil them.
Mom's Salty Baby Back Ribs

Ingredients
- 2 racks baby back pork ribs (I use St. Louis style ribs)
- 1 tbsp salt
- 1 tsp pepper
- 1/4 cup garlic salt
- 1/2 cup flour
- Spray oil, like Pam
Instructions
- Set oven to broil, put on lower rack or it will burn.
- Prepare cookie pan with oversized aluminum foil and cooling rack.
- Rinse and pat dry your ribs
- Make a dry rub out of the salt, pepper and garlic salt.
- Spray each side of ribs with Olive Oil spray or Pam
- Sprinkle the dry rub on both sides of the ribs very generously
- Spray with Olive Oil spray or Pam again
- Liberally sprinkle flour on all sides (this makes them crispy)
- Broil meaty side up until browned (but not too much) about 10-15 min
- Then flip meat over and broil bottom sides until browned
- Then turn oven down to 350 and cook another 30 min or until crispy or meat easily pulls off, if you leave it them in too long it will get dried out.
- Cool out of oven for at least 15 min then slice
Notes
Cooking times depend on how big or meaty your rib racks are so just keep an eye on things
Tina’s Turkey Chili

This recipe is from my sister’s sister-in-law Tina. I’ve added Mexican chocolate and Guinness beer to the recipe to make it a bit more layered in flavor. It’s super easy if you have a crockpot because you just throw it all in and it’s done.
Tina's Turkey Chili

Ingredients
- 2 lbs ground turkey
- 30 oz can tomato sauce
- 30 oz can chili beans, no need to drain
- 30 oz can kidney beans, no need to drain
- 8 oz can chopped green chiles
- 4 tbsp chili powder
- 1 tsp salt
- 1/2 tsp pepper
- 1/2 tsp ground red pepper
- 1 tsp garlic powder
- 2 tsp onion powder
- 1/2 tsp dried oregano
- 1/2 tsp ground cumin
- 1/2 block of Mexican Chocolate (I use Nestle Abuelita Authentic Mexican Chocolate Drink Mix)
- 1 Guinness beer (1/2 for the chili and the other 1/2 for you to enjoy!)
- Chopped green onion, sour cream, cheddar cheese, Fritos
Instructions
- If you have a crockpot with a removable pot, brown the turkey in this. If not, brown it separately in a large saute pan.
- Put all of the other ingredients into your crockpot and set it to high.
- Add the turkey (or if you cooked the turkey in the removable pot, leave it in).
- Combine well but gently so you don’t crush the beans.
- Cook on high for at least 3 hours, stir occasionally, then turn down to warm.
- Serve with garnishes on the side for people to add as they please.