
There’s no getting around the fact that making every element of ramen from scratch is a lot of work. The good news is that almost all of the components - the fat; the tare, or highly flavored season component; the broth; the topping; and the noodles - can be made over the course of several days. If you make these ahead of time, then when you’re ready to assemble your ramen, it can be done relatively quickly. These noodles can be wrapped in individual portions and frozen for up to one month. You will need a pasta machine, and I’d recommend using an electric mixer with a dough hook, unless you want to develop Popeye forearms…
Remember, there are lots of other, easier noodle alternatives that are perfectly fine. Any of the following will work, just throw out those salty flavor packets:
- fresh noodles from a ramen shop
- fresh packaged noodles that come with a soup-base packet
- dried ramen noodles for instant ramen
- dried chuka soba noodles (chuka soba actually translates to “Chinese noodle,” which are, in fact, ramen noodles)
- gluten-free packaged ramen noodles or rice ramen noodles for dietary restrictions
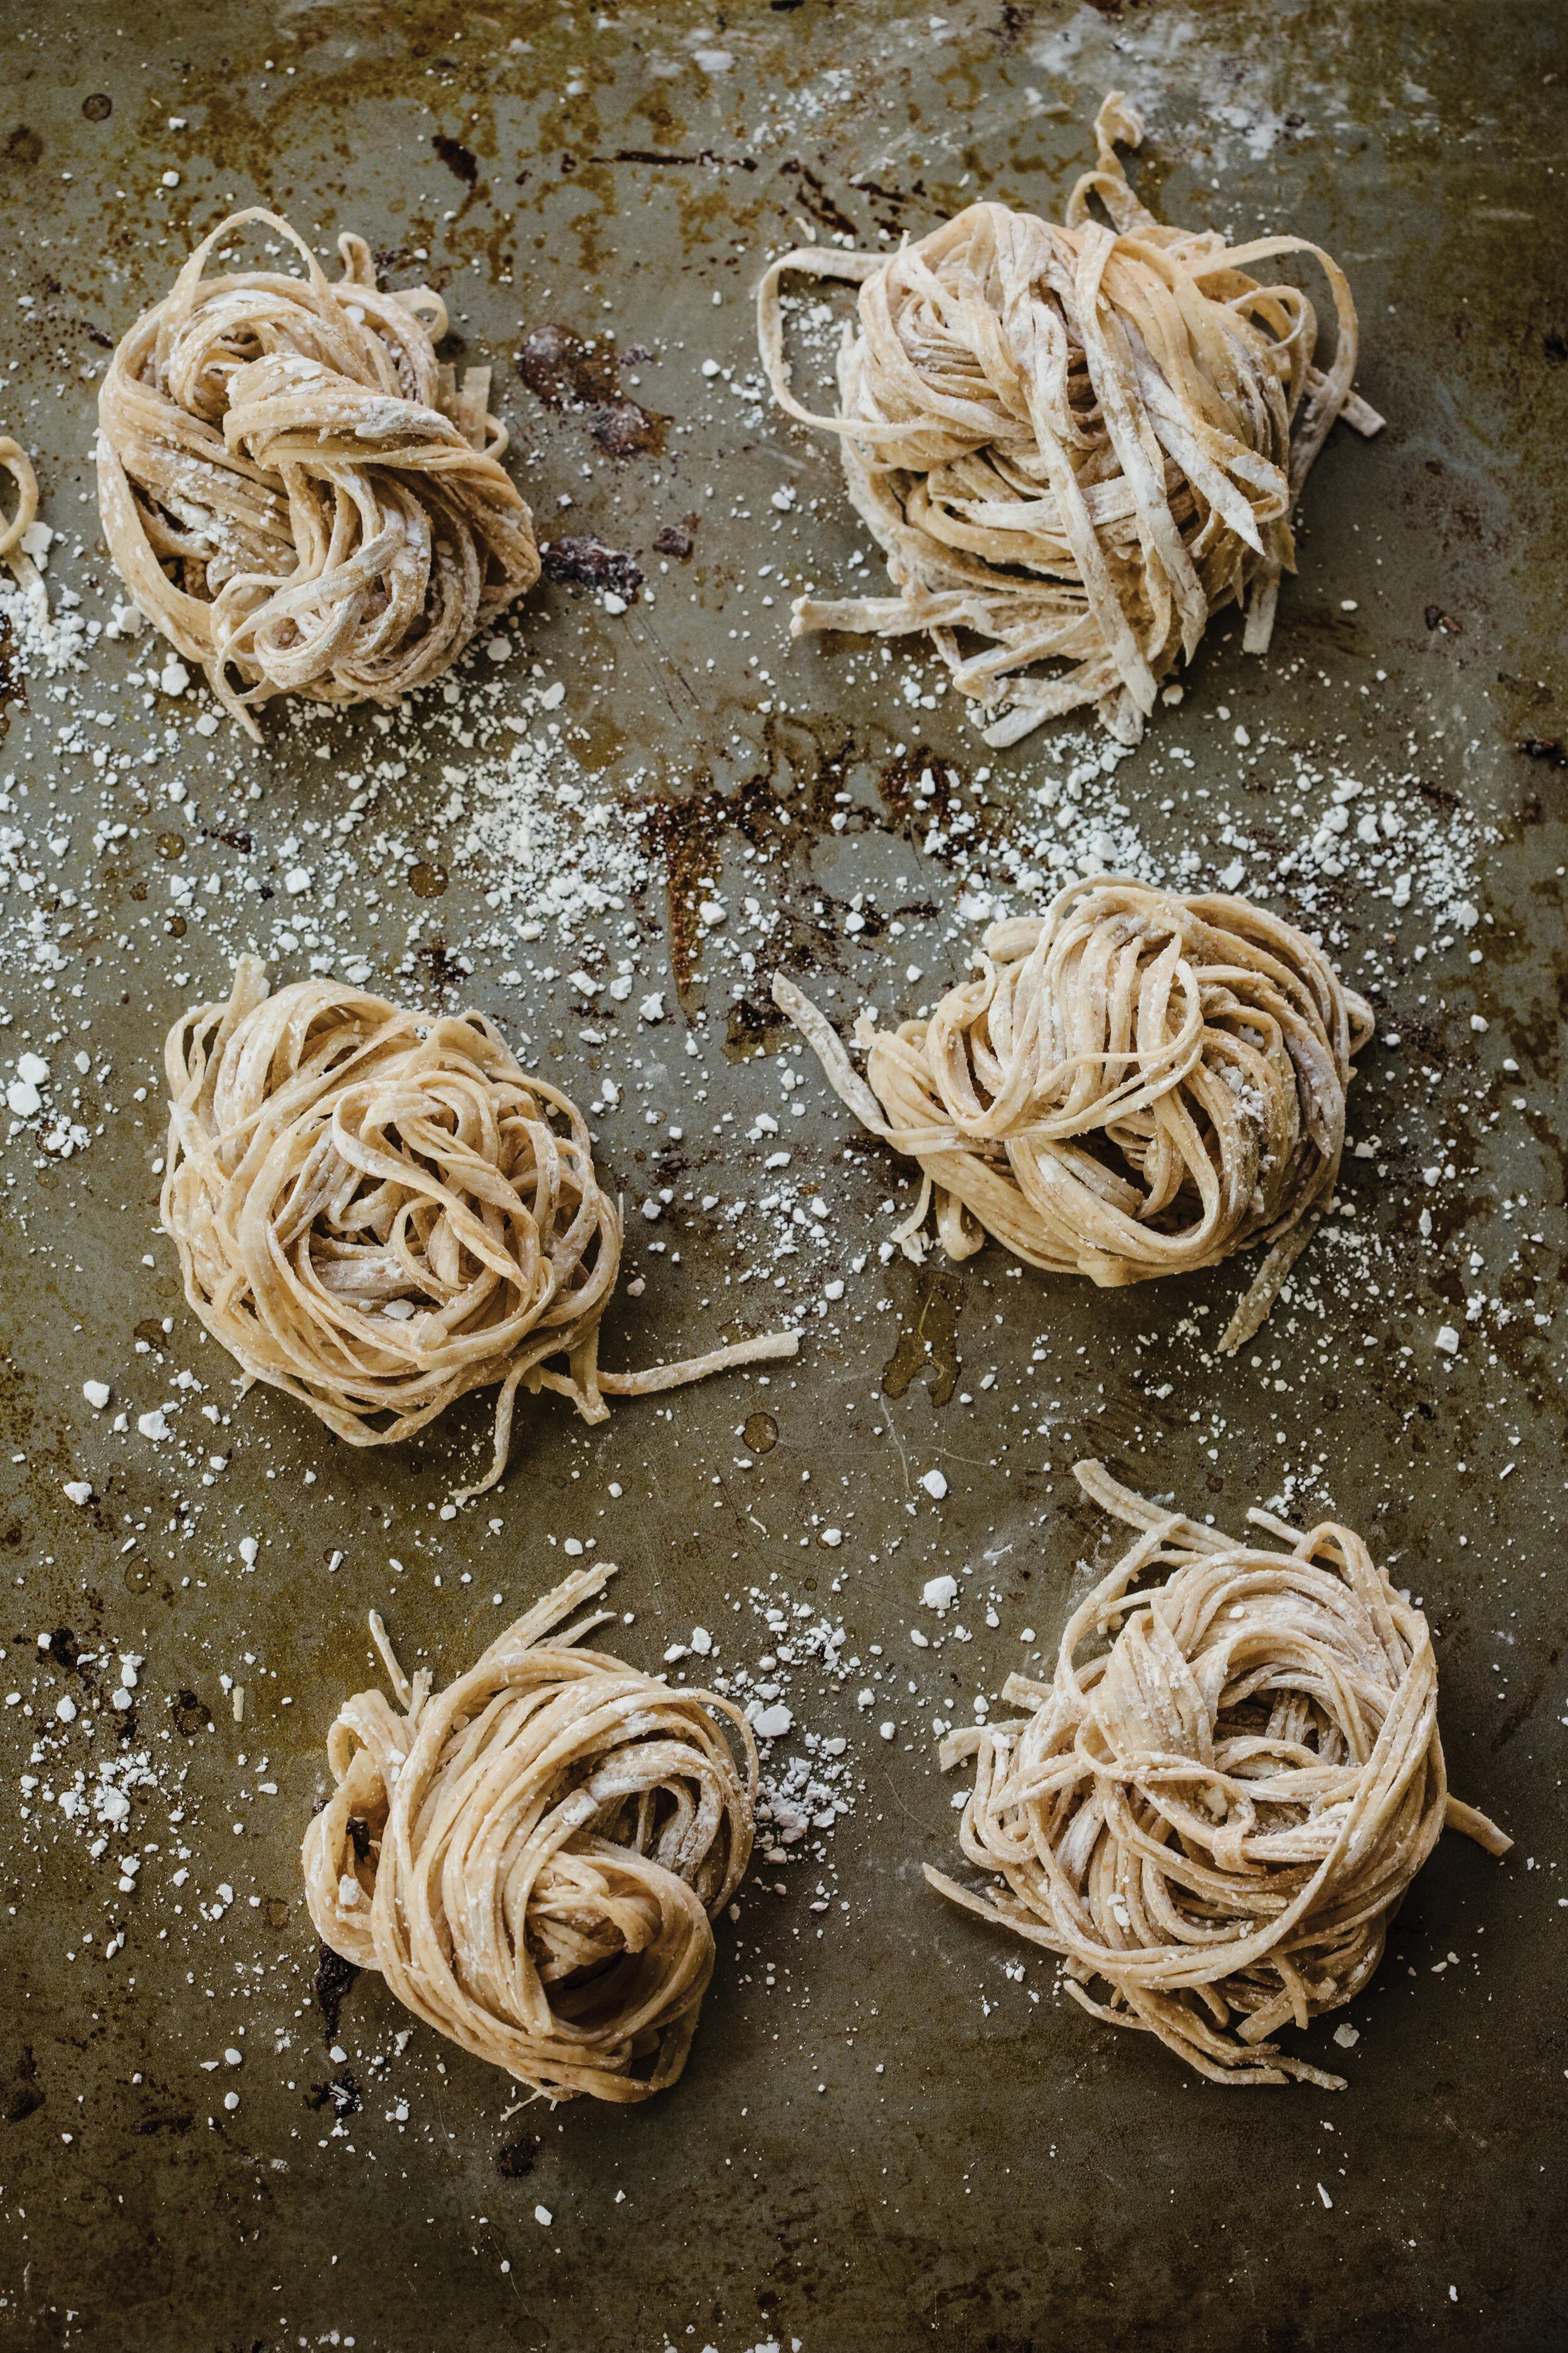
If you do venture down the homemade noodle path, then keep this in mind: a perfect noodle has a yellow hue, should be cooked al dente, and have a chewy and elastic, yet firm texture that holds up to the soup without getting soggy, all the way until the very last slurp.
Ramen Noodles

Ingredients
- 2 tsp *baked baking soda (see recipe below) or kansui powder
- 1 1/4 cups water (if you are hand-kneading, change water quantity to 1 1/2 cups)
- 3 1/2 cups bread flour, plus extra for dusting
- 1/2 cup cake flour
- 1 cup wheat flour
- 1 tbsp salt
- Cornstarch, for dusting
Instructions
- In a small bowl, combine the baked baking soda or kansui powder and water until it dissolves.
- In a stand mixer fitted with a dough hook, combine the bread, cake and wheat flours, kansui water and salt. Mix for 10 minutes on the lowest speed until the dough forms little pellets. If you need to, add up to 5 additional teaspoons of water. The dough is ready when it feels dry but will come together when squeezed with your hand.
- Tip the dough onto a floured board and kneed into a ball for at least 10 minutes. Alternatively, you can put your dough in a plastic zip-top bag and form it into a ball so that it is easier to bring together and knead.
- When you are ready to make your pasta, set up your pasta machine so that it is stable and won’t slip from your work surface.
- Cut your dough ball into 8 equal-sized pieces and use one piece at a time, keeping the rest wrapped tightly with plastic wrap or sealed in your zip-top bags and refrigerated.
- Roll out one piece until it resembles a flat, long shape. Sprinkle with some cornstarch so it doesn’t stick to the pasta maker. Pass it through your pasta maker on the largest setting – it will be a bit rough at the edges, but don’t worry about how it looks. Fold it over on itself and pass it through the machine again.
- Reduce the machine width to 2 and pass through. Fold it over on itself and pass it through again.
- Reduce the machine width to 4 and pass it through only once. You will now have one long strip of dough. Cut this stripe in half vertically.
- Reduce the machine width to 6 and pass through one of the halves twice. Repeat with the other half. Now you dough is ready to run through the noodle cutter attachment.
- The two strips will yield enough noodles for 1 bowl of ramen. Repeat steps 6-8 for the remaining dough pieces from step 5. Sprinkle each batch of noodles with additional cornstarch, lifting up the noodles to separate and lightly coat them, then pack them individually in plastic wrap. Let them sit in the refrigerator for at least a day before using. If you are planning to use them later, put them in individual zip-top bags and store them in the freezer for up to one month.
- Cook the fresh pasta in a pot of boiling water. Depending on the number of portions, cook for 1-2 minutes. Shake out all excess water and lay a portion in your bowl of hot soup by folding them over onto each other so they do not look messy. Then add toppings.
- Preheat oven to 275 Degrees F
- Spread 1/4 cup baking soda on a foil-lined baking sheet.
- Place it in an oven for 1 hour.
- As this recipe only calls for 2 teaspoons, you can save the remainder in a zip-lock bag.