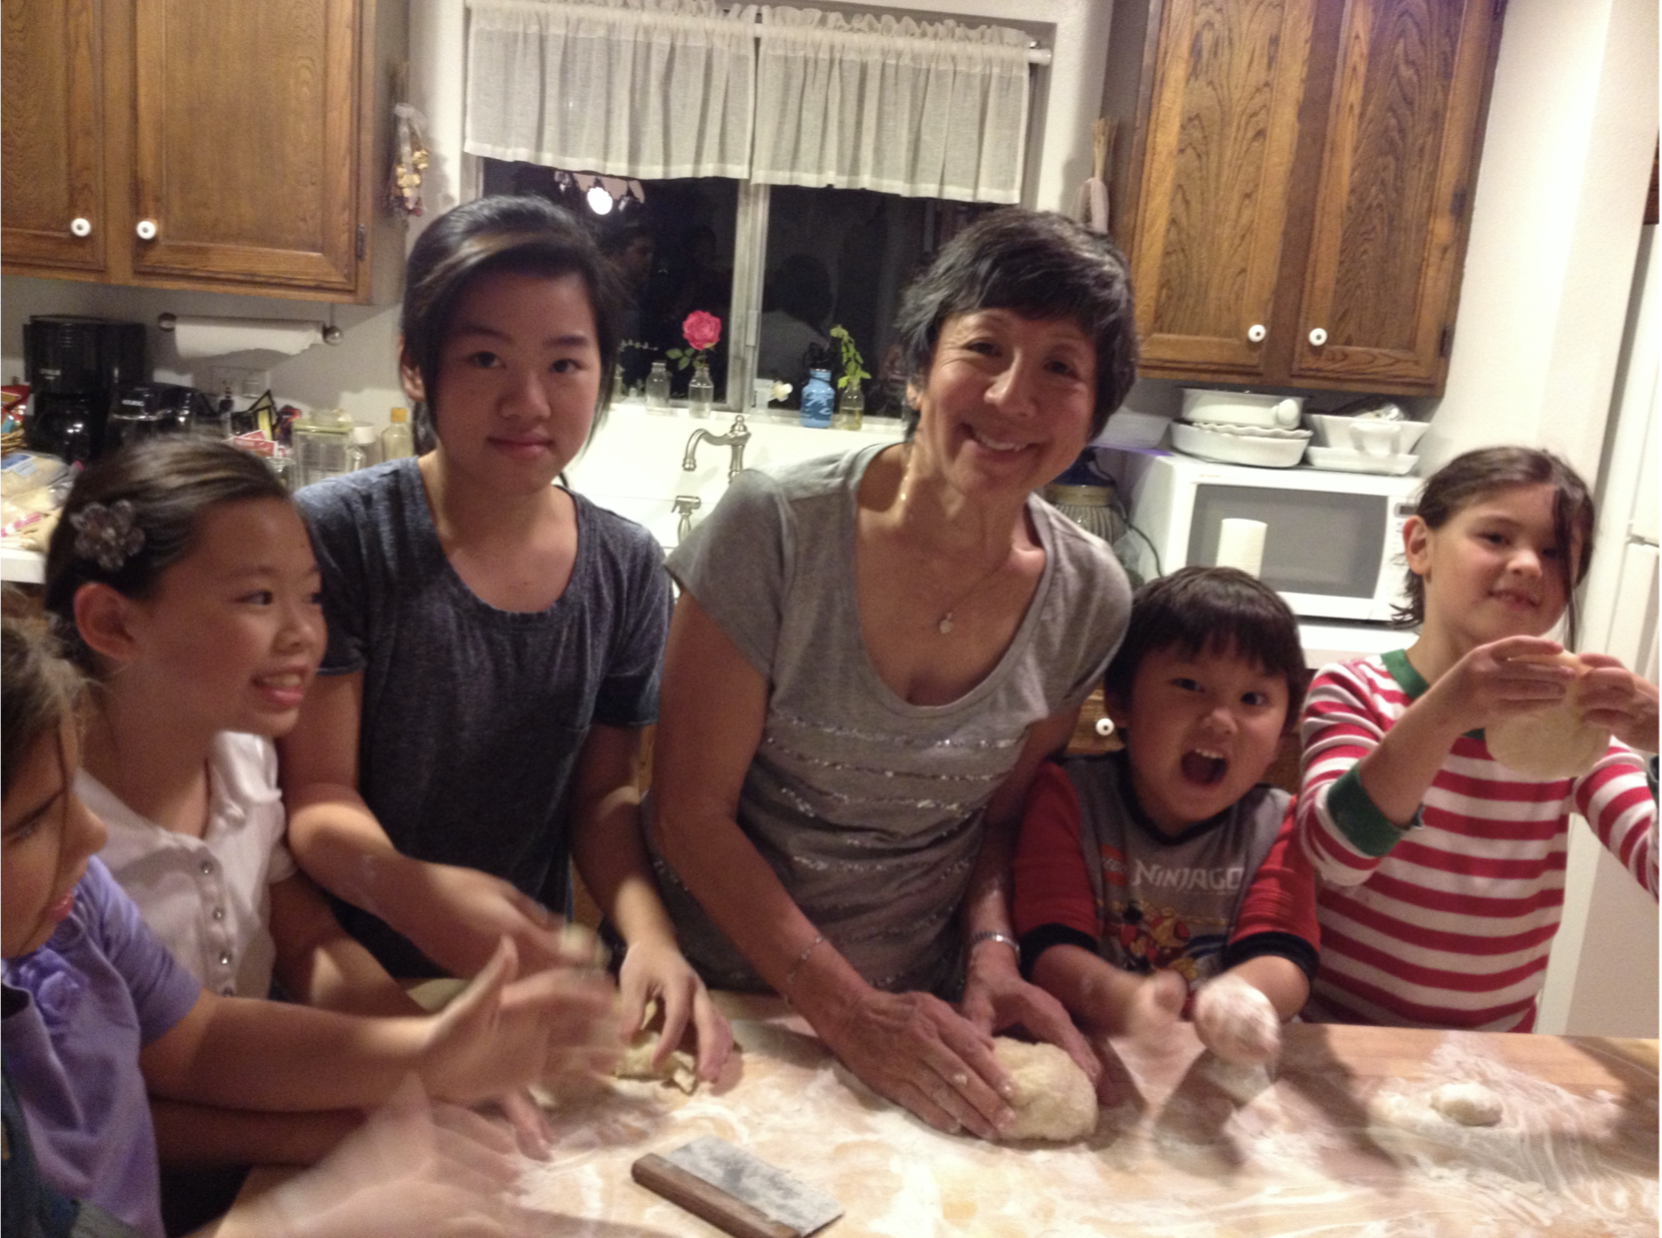
Even though I'm a Yonsei or Fourth Generation Japanese American, my Japanese roots have not been lost! We still carry the tradition of "Mochitsuki" or pounding of mochi or rice cakes every year. Mochi is definitely a must for any Japanese New Year or "Oshogatsu" celebration.
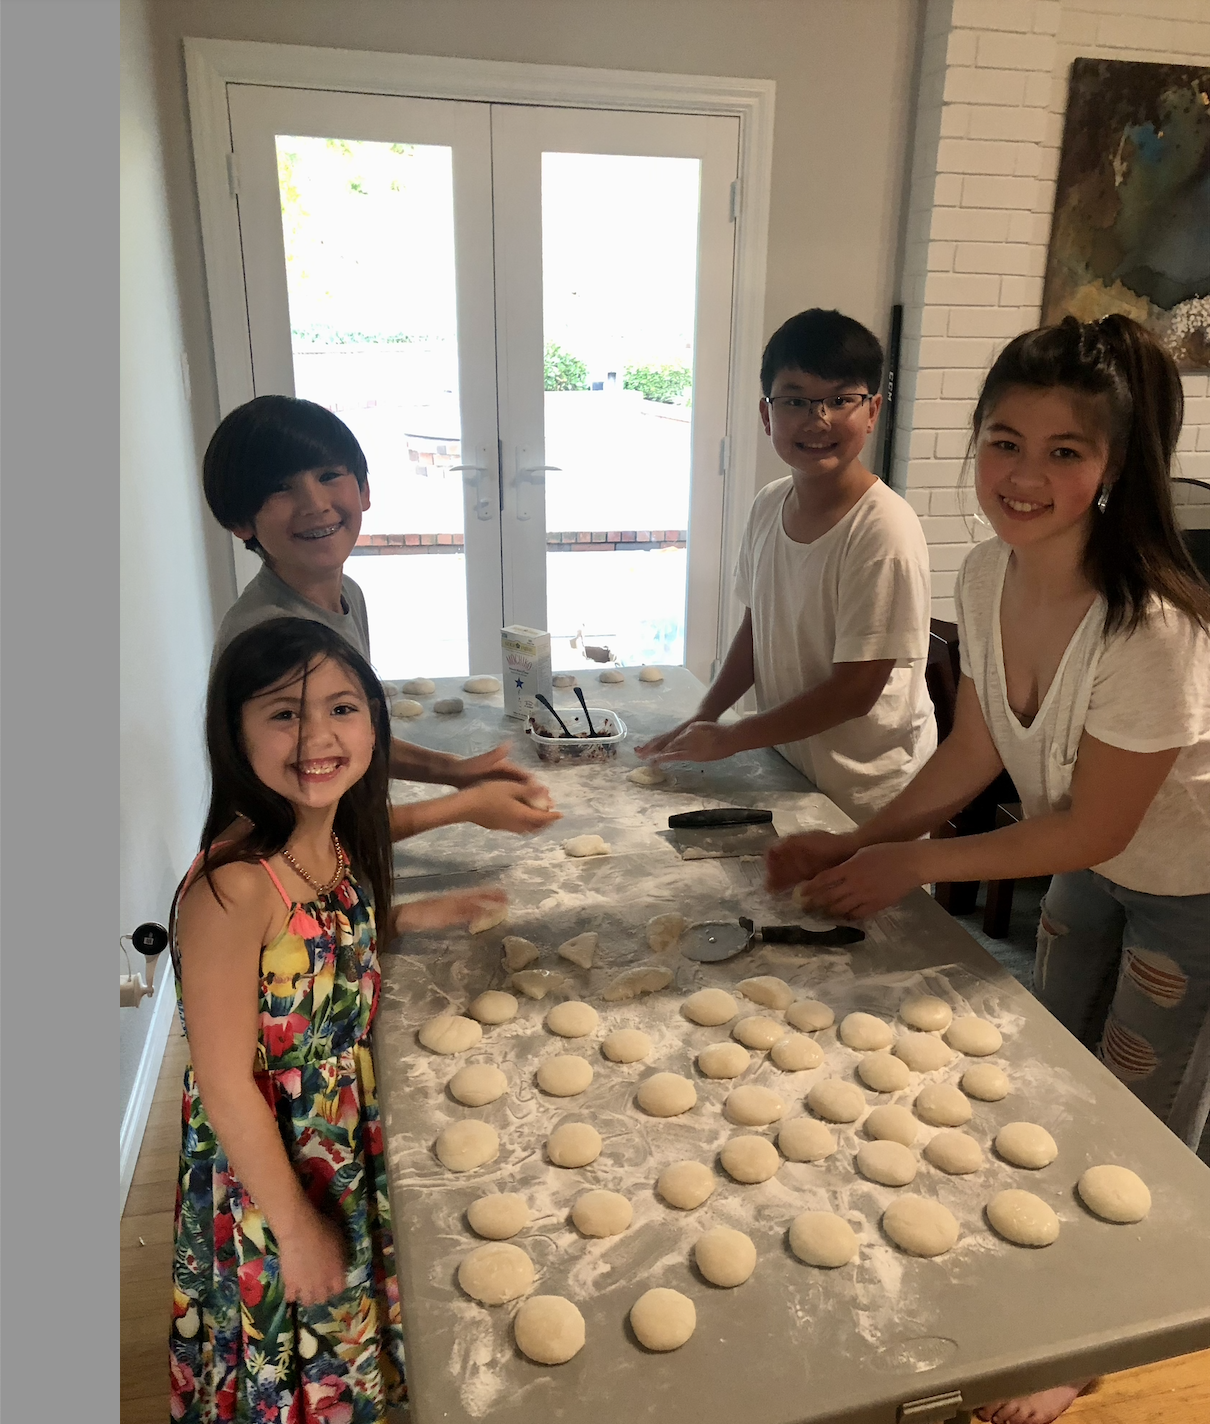
The process of making mochi is pretty labor intensive but it really gets the whole family involved because everyone can help. It's fun to form the mochi patties and wait in anticipation to eat our first cooked batch that we dip in sweet soy sauce. It’s not worth doing unless you have a mochi maker which you can purchase on Amazon. Mine is a hand-me-down from my Aunt but I’d recommend this one. If you really want to do it "old school", after the rice is cooked, you would dump it into a usu, or mortar, made from a wood stump, stone or concrete form. Then the hot cooked rice in the usu is pounded with a kine or wooden mallet. With much force, the mochi is pounded until the mass of rice is smooth and shiny, with no lumpy grains of rice showing.
Here’s my advice for making mochi:
1. Don't use old rice
2. Don't mix the rice with any other type of rice
3. Make sure you are only using the measuring cup that came with your rice cooker if you are going with the 2 cups of water vs the measured water option.
Mochi

Ingredients
- 3 lbs of mochigome rice (sweet short-grain sweet rice) per batch
- 400 ml or 13.5 oz water, or 2 japanese cups provided with the mochi maker
- 2 boxes of mochiko (sweet rice flour)
- 1/4 cup sugar
- 1/4 cup soy sauce
- Dark chocolate chips for filling
- Strawberry extract
- 1 can Adzuke beans
Instructions
- First wash and soak 3 lbs of rice or "Mochigome" which is a particular type of sweet rice that you use for mochi making. Let it soak for of 8-12 hours. I used a scale to measure out 3 lbs so it was exact.
- Drain the rice for a minimum of 15 minutes into a bamboo colander or a strainer that the rice will not fall through. Thoroughly drain for successful steaming.
- Add 400 ml of water to the bottom of the mochi maker. You can also use 2 cups of water but only if a Japanese cup is provided with your mochi maker. Japanese cups are smaller than a normal US cup size.
- Add the drained rice to the mochi maker and select the mochi (or soft mochi setting) and press start.
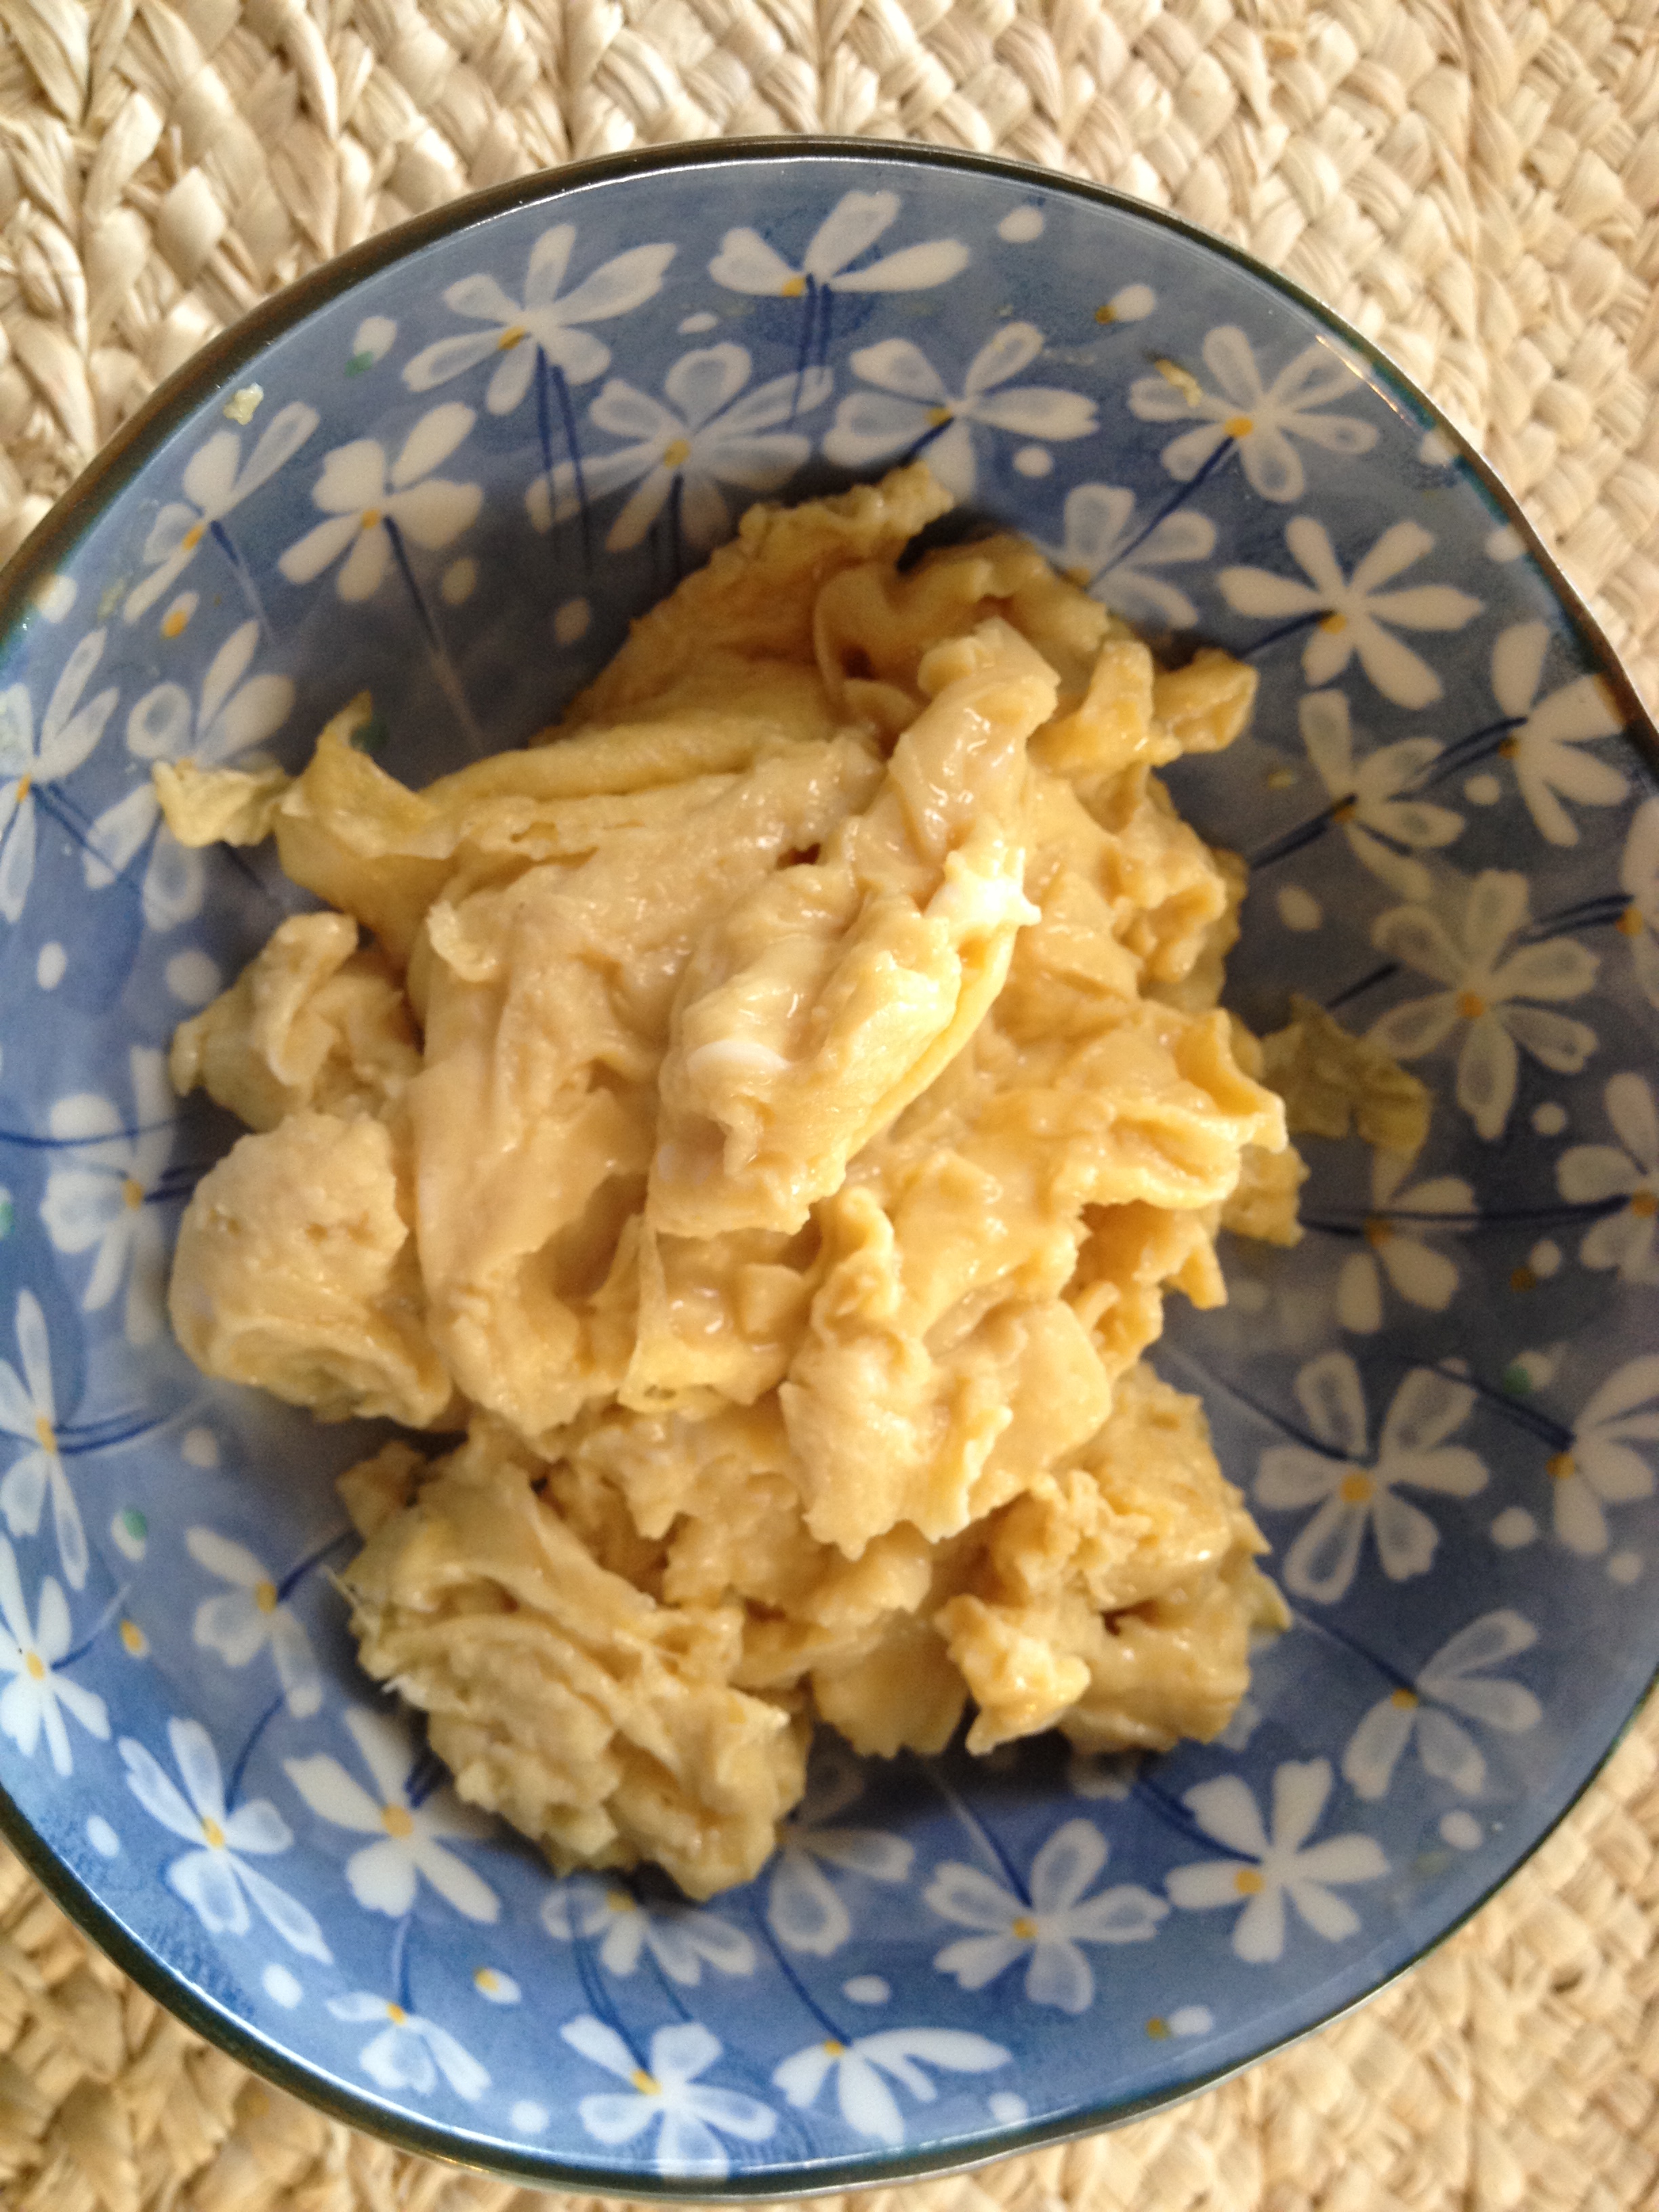
- Let it steam for about 45 minutes until a large ball forms.
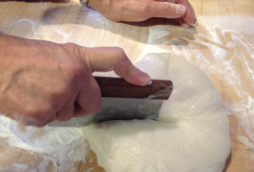
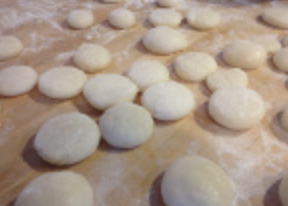
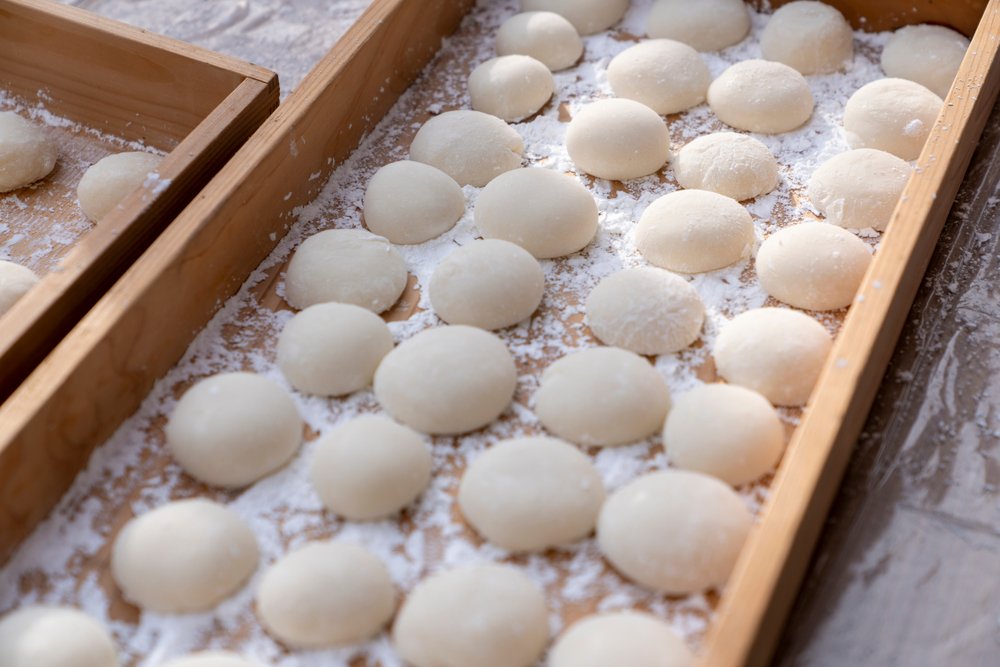
- Lay the mochi out on mochiko so that it doesn’t stick.
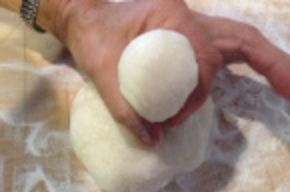
- Cut the hot mochi with a pizza cutter and make little patties until done.
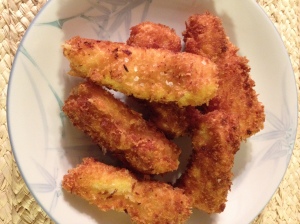
- To make a variety of mochi, you can add the strawberry extract to the dough before you make the patties. You can also fill the patties with dark chocolate or adzuke beans. These flavored mochi can be eaten raw and do not need to be broiled.
- Preheat oven to Broil.
- Make the dipping sauce with sugar and soy sauce. Mix together until incorporated.
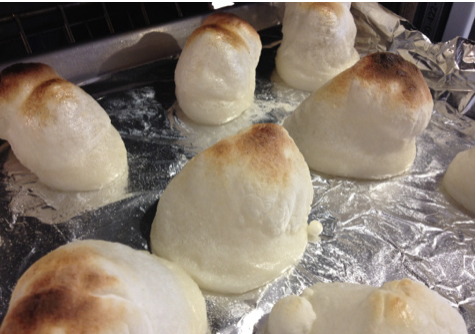
- Sprinkle some mochiko on a cookie sheet or use a silpat or aluminum foil with cooking spray on your sheet and spread out the patties so they have enough room to puff up without touching each other.
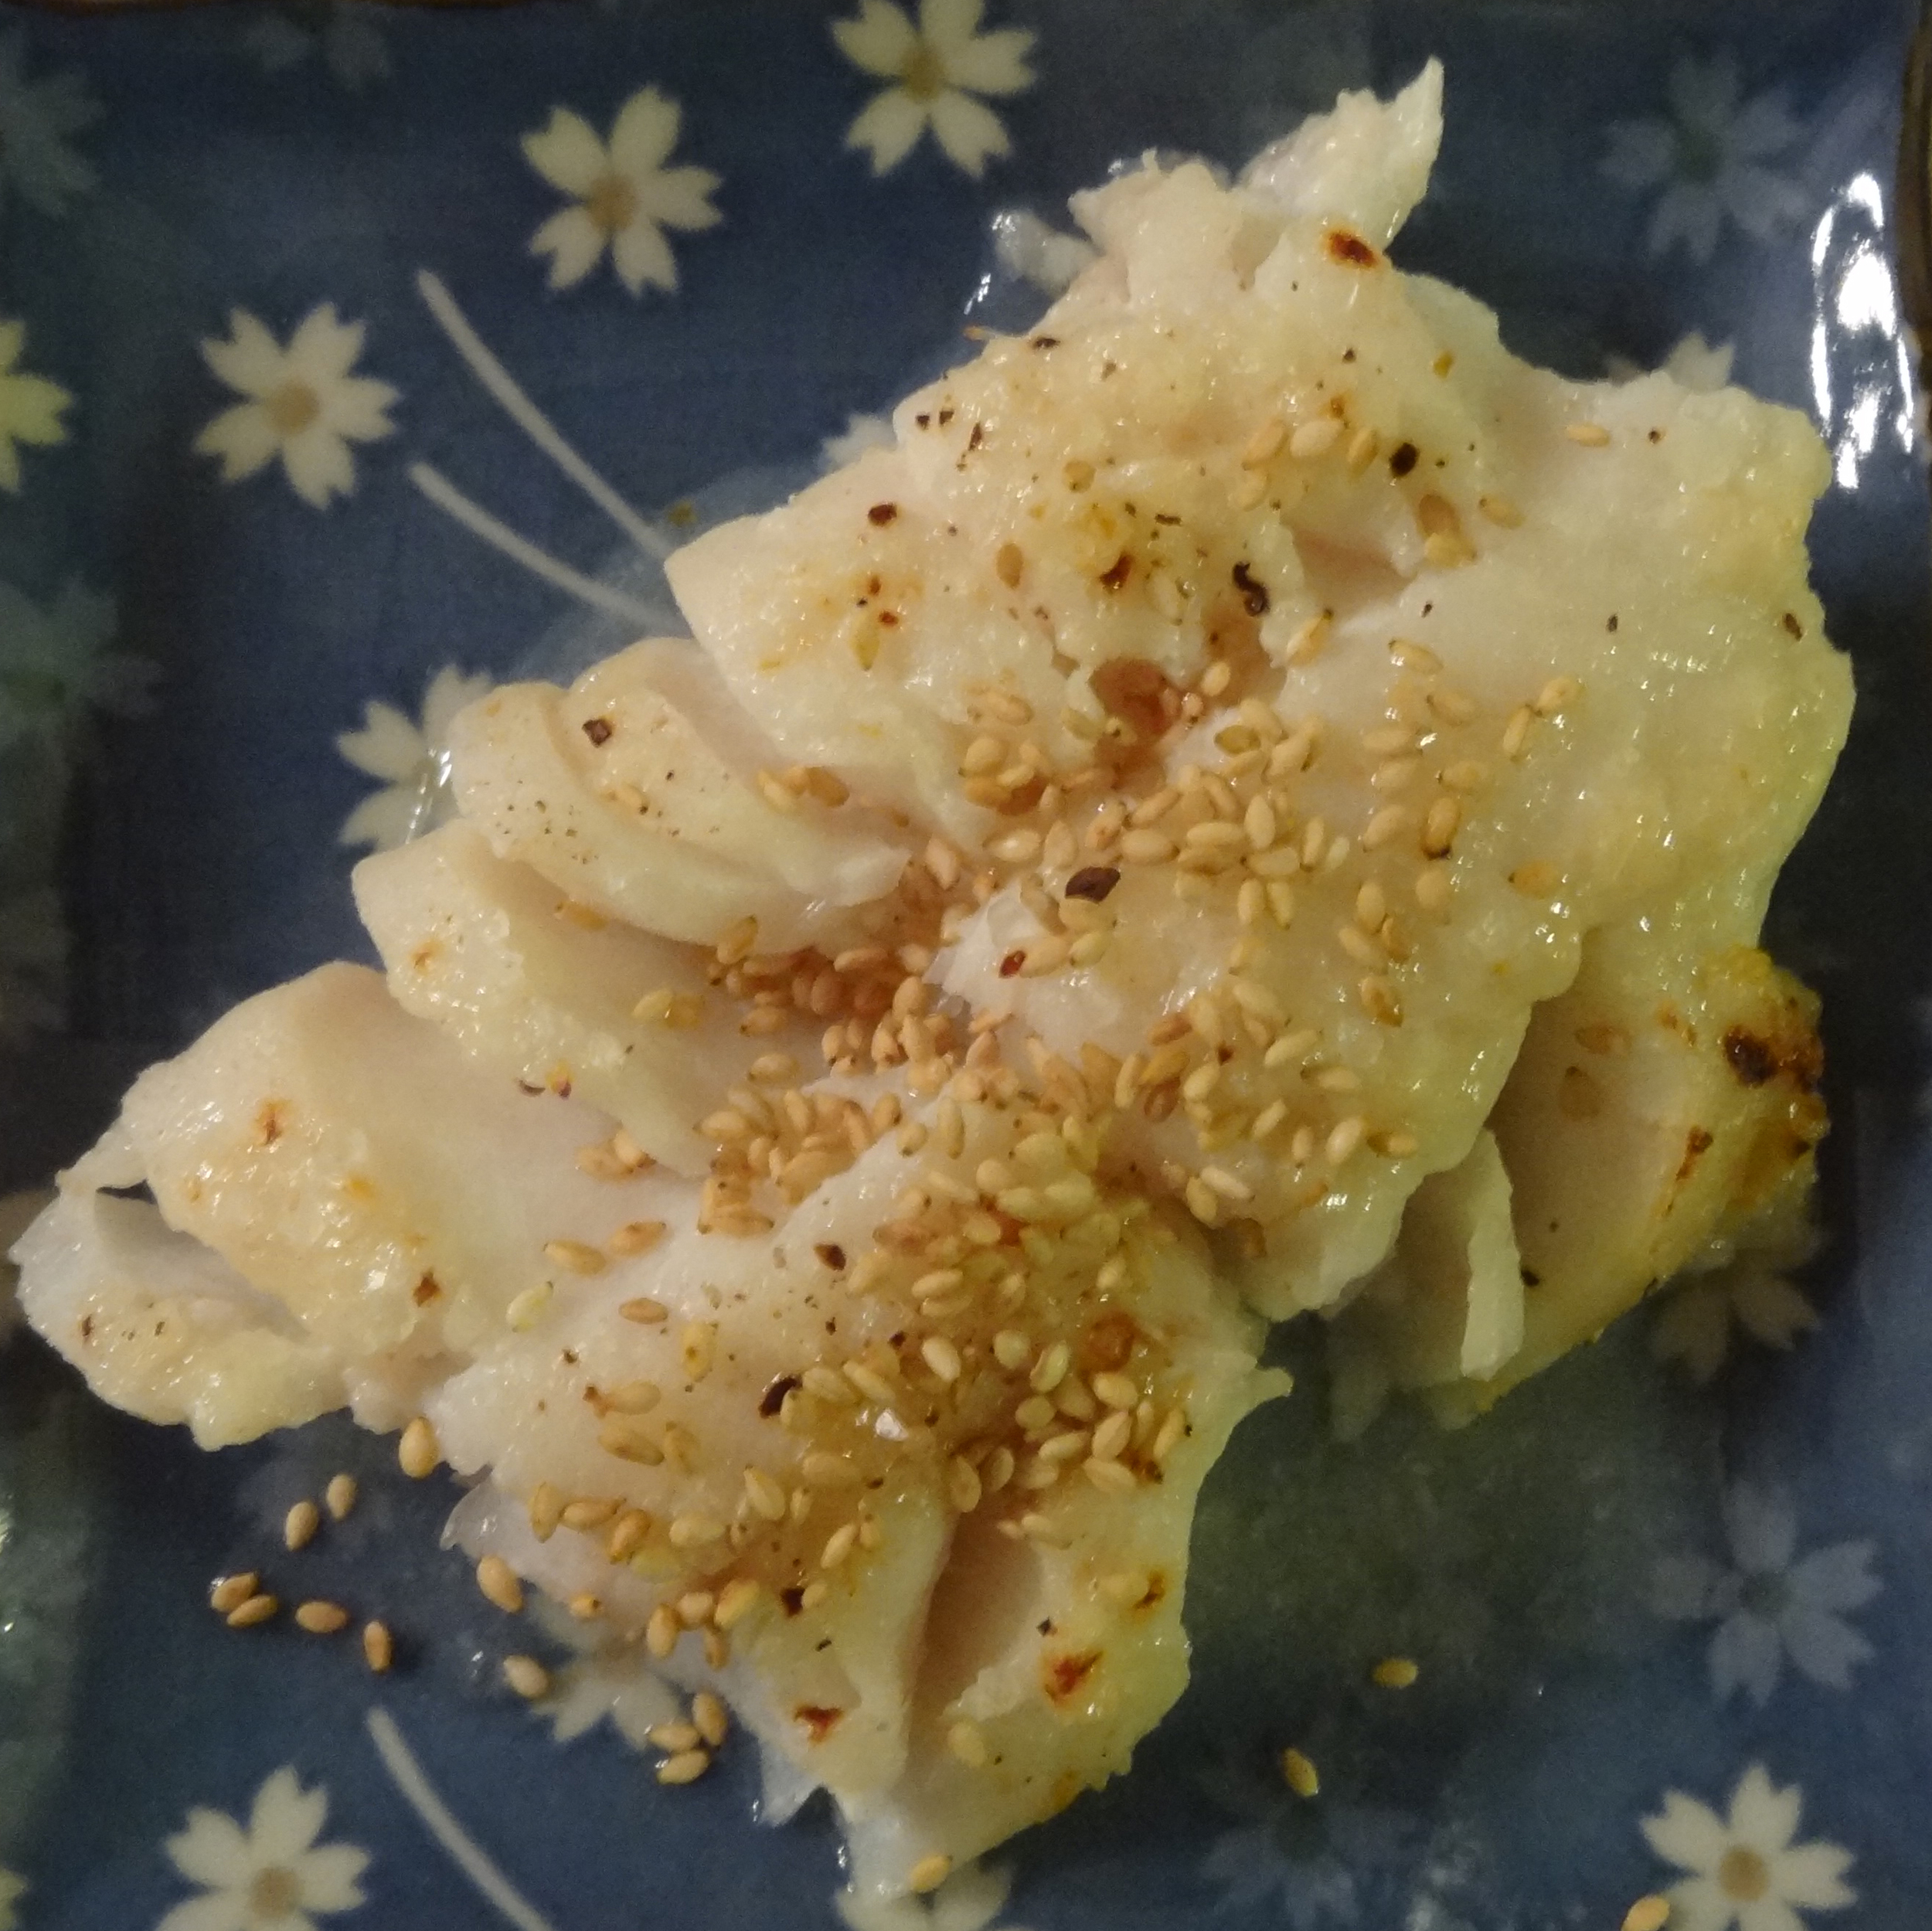
- Broil for about 5 minutes or until puffy and golden brown. Watch closely so they do not burn as ovens vary.
- Serve hot and enjoy with the dipping sauce.


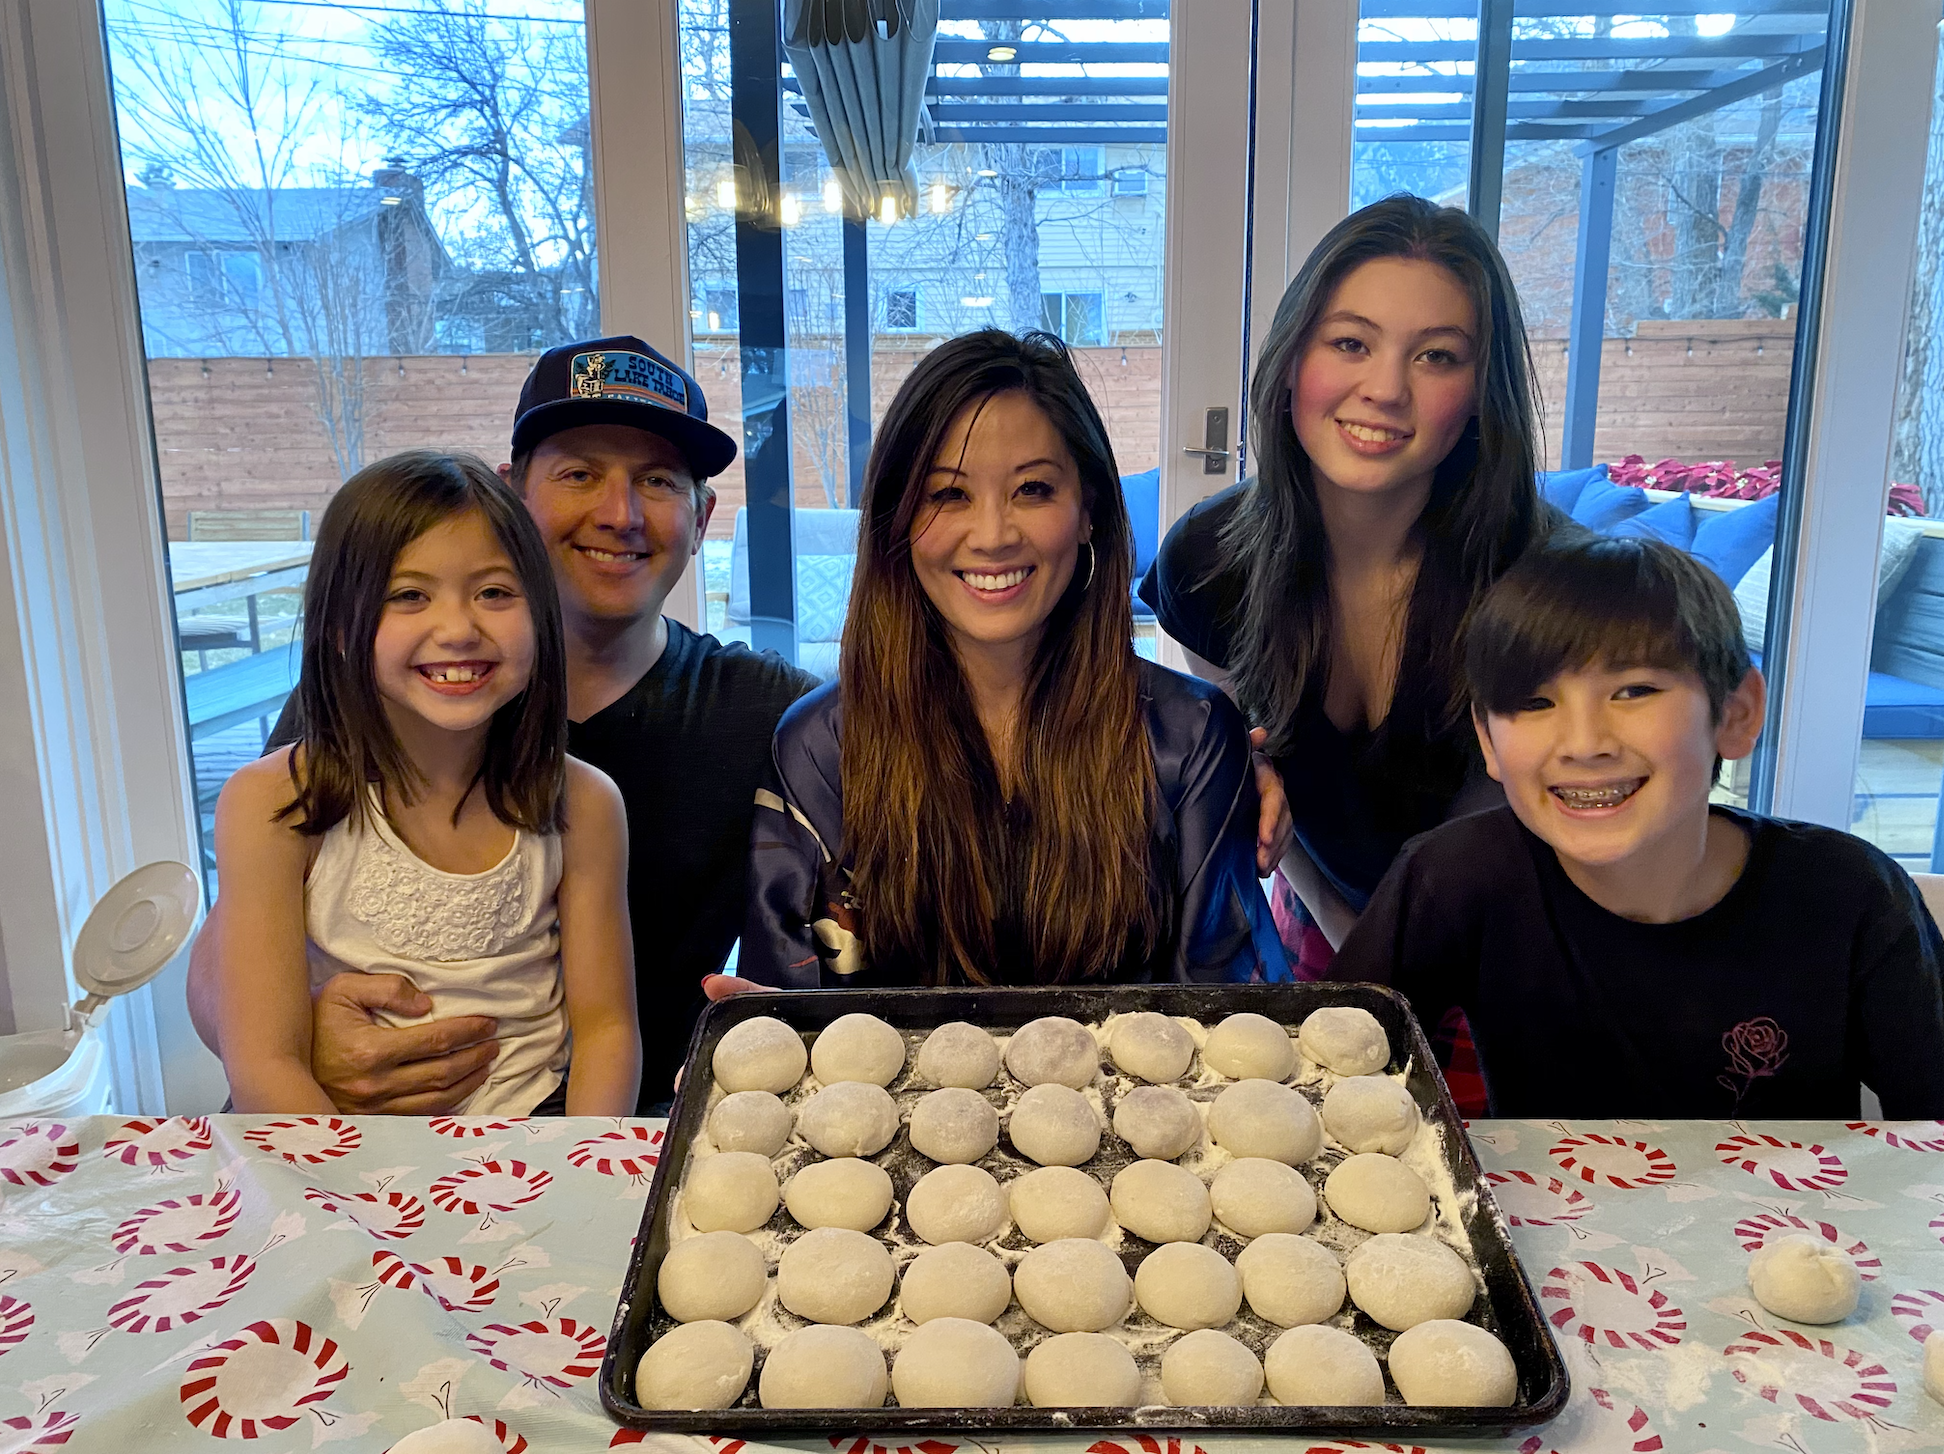


Mochi Making Through the Years