So excited to share another beautiful Asian inspired appetizer. Created in collaboration with Chef Carolina, a fellow graduate of August Escoffier Cooking School in Boulder, Colorado.
Follow us both on instagram to see more delicious and thoughtful recipes. Chef Amy Chef Caro
This recipe is a definite crowd pleaser and the crisp pre-made rice cracker is the perfect vessel for the light, refreshing tuna tartare.
Ahi Tuna Tartare on Rice Crackers

Yield: 12-14
Prep time: 20 MinTotal time: 20 Min
Think crispy, and fresh—all in one perfect and gone in seconds. Great for summer parties, or anytime you want to impress without the stress.
Ingredients
- Buy ahead:
- Pre-made rice crackers - LINK
- For the Tartare:
- 6 oz sushi-grade ahi tuna, finely diced (best cut partially frozen)
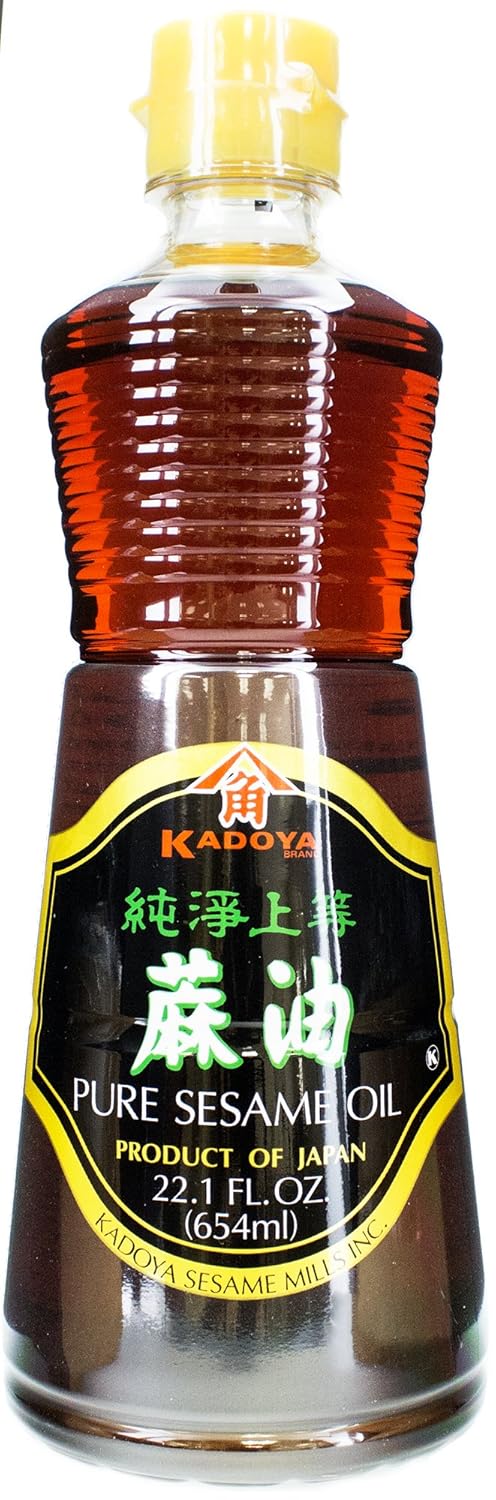
- 1 tbsp sesame oil
- 1 tsp low-sodium soy sauce
- 1 tsp rice vinegar
- 1 tsp finely grated fresh ginger
- 1 tbsp finely minced shallot
- Dash of chili oil (optional)
- Garnish:
- Microgreens (shiso, cilantro, or daikon sprouts)
- Toasted sesame seeds
Instructions
- Make the Tartare:
- In a bowl, mix sesame oil, soy sauce, rice vinegar, ginger, shallot, and chili oil. Add diced tuna and gently fold to combine. Taste and adjust seasoning.
- Assemble:
- Spoon 1 tbsp of tuna tartare onto each rice cracker and top with microgreens and a sprinkle of sesame seeds.
- Serve immediately to keep the crackers crisp.


 Paste with Toasted Miso Butter")


")